木木木木木
友圈
好物
归档
导航
关于
友圈
好物
归档
导航
关于
二〇二六,你好
2026-01-25 08:22:01
#
日常
不知不觉已经来到了 2026 年,给大家拜个晚年、拜个早年。
愿大家一切安好,马上 ——
啥都有!
阅读全文 →
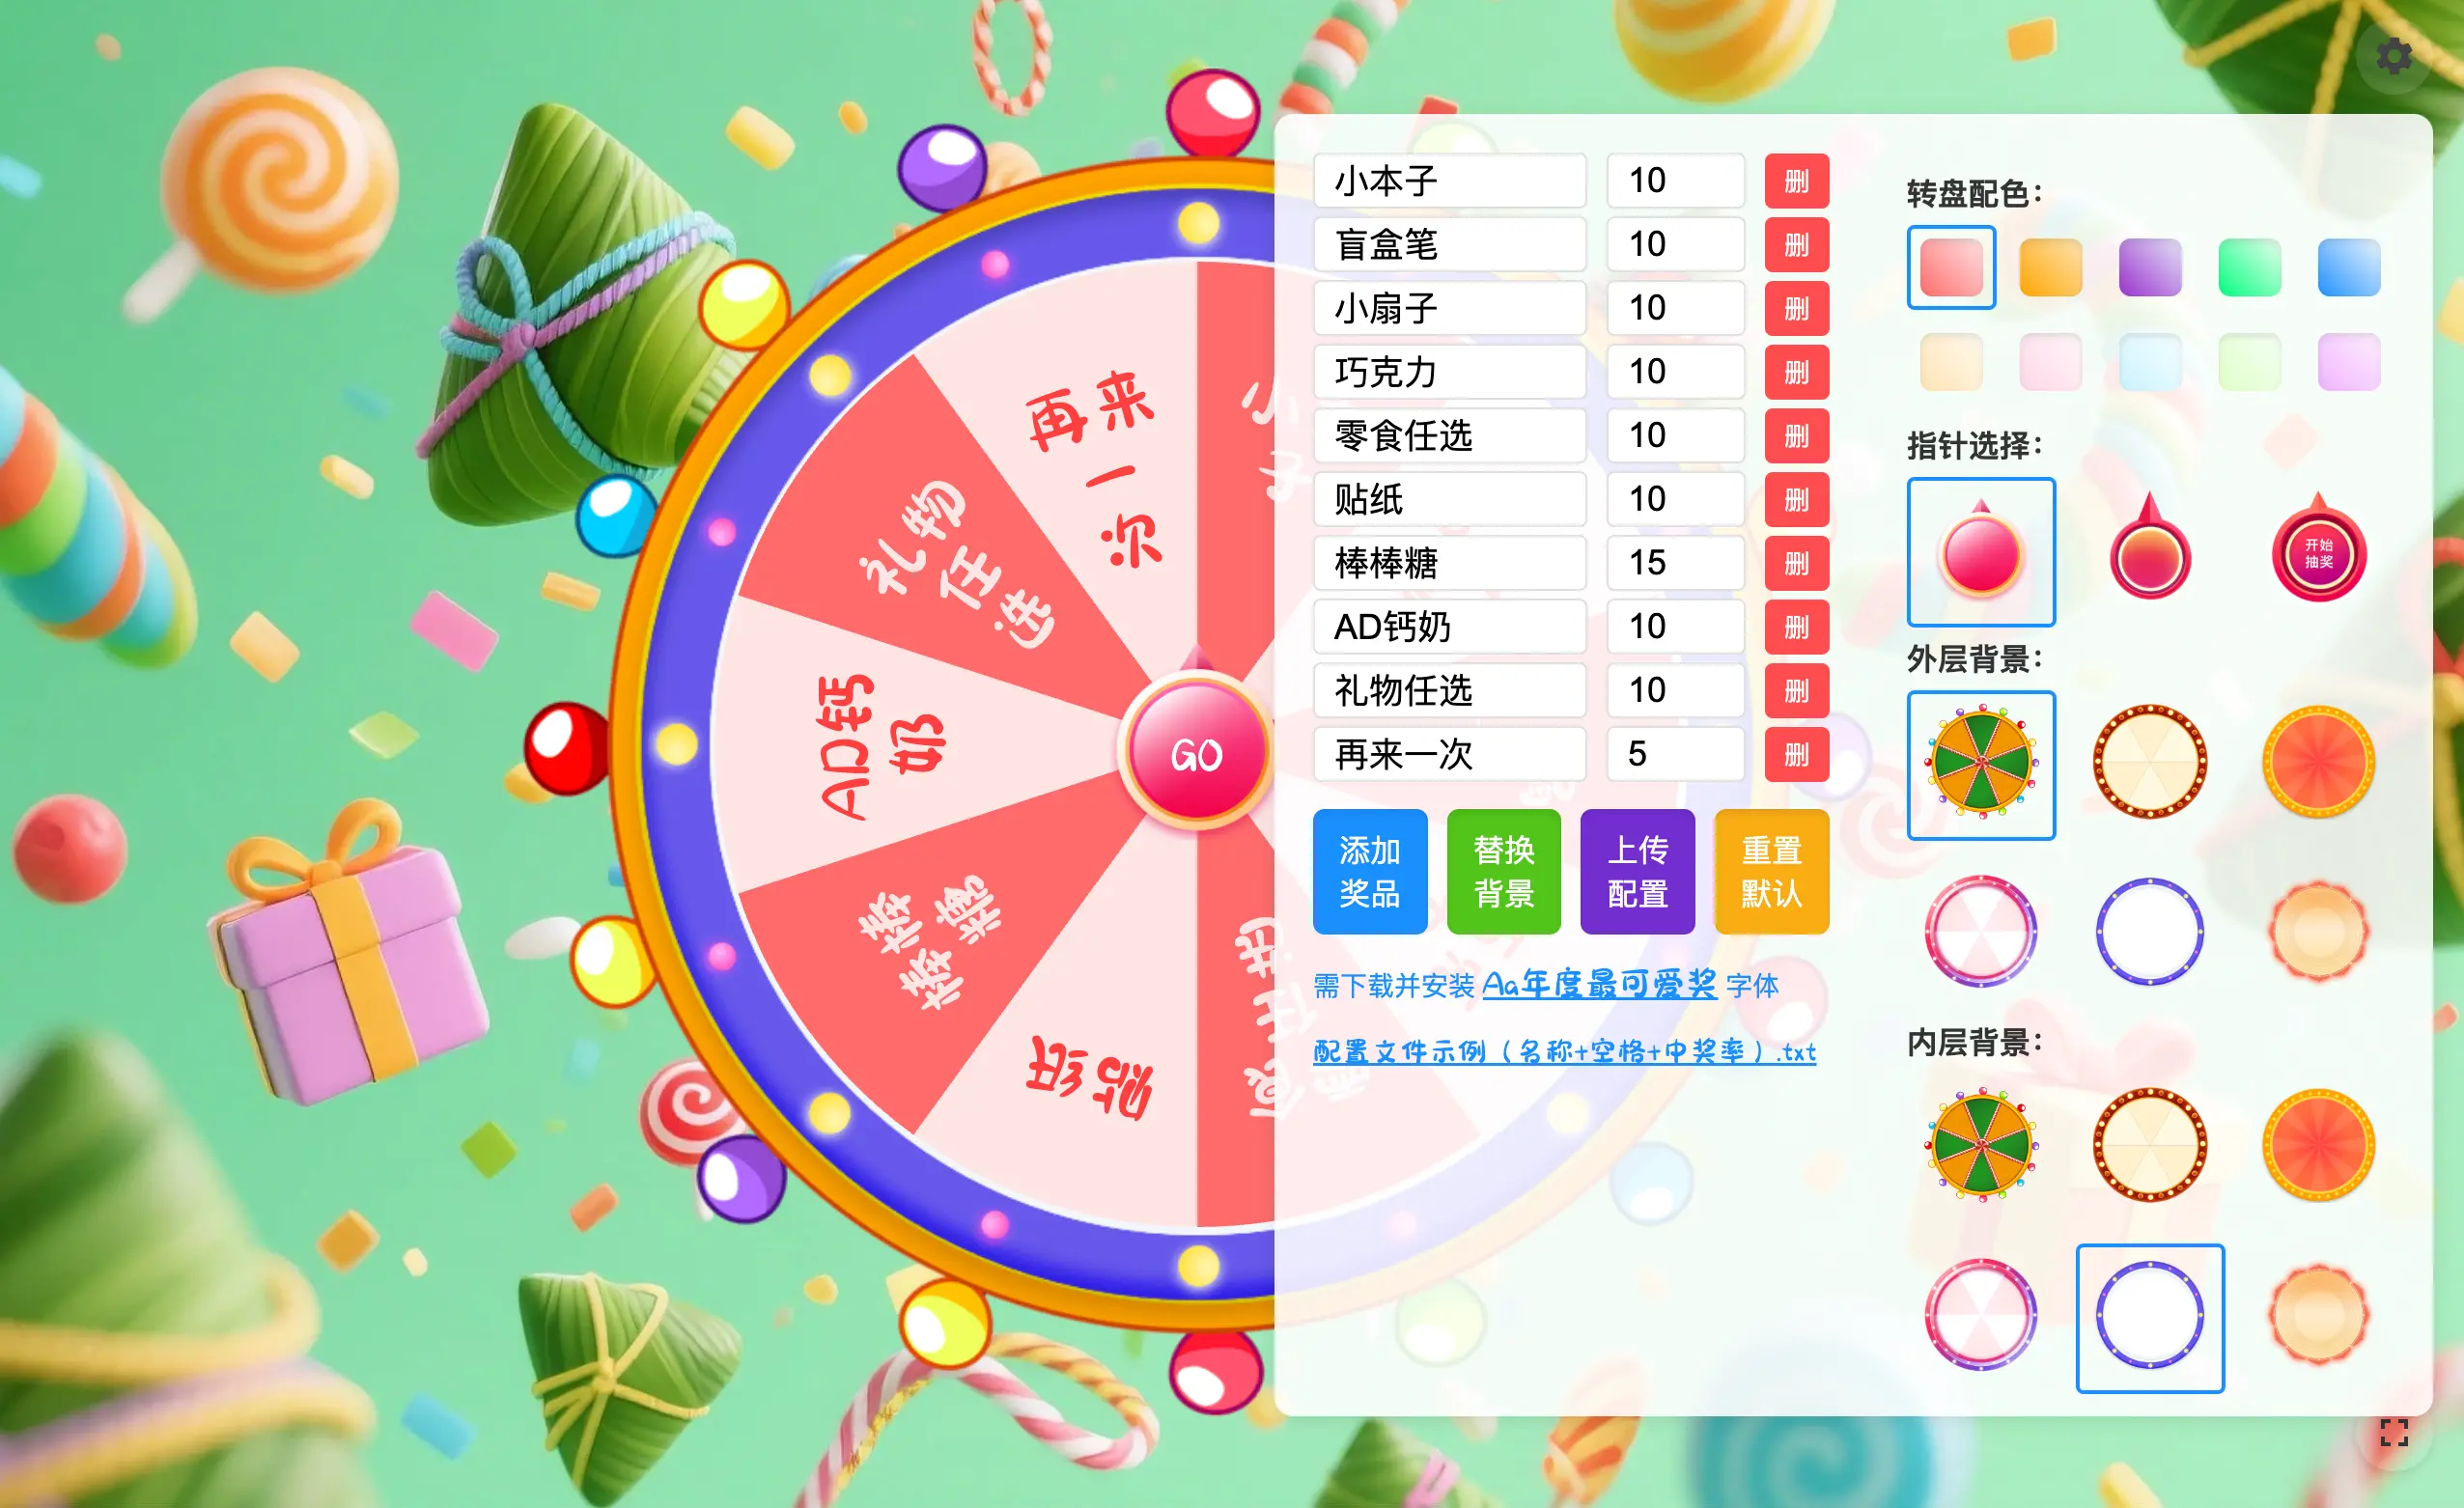
Lucky-canvas 抽奖插件折腾记
2025-05-31 20:02:58
#
折腾
沉迷“吉卜力”中……
2025-04-12 07:59:32
#
日常
懒到现在才安上肥羊 allinone
2025-03-08 16:27:31
#
日常
港珠澳大家庭游,难得
2025-02-06 12:04:45
#
日常
查看更多
朋友连接
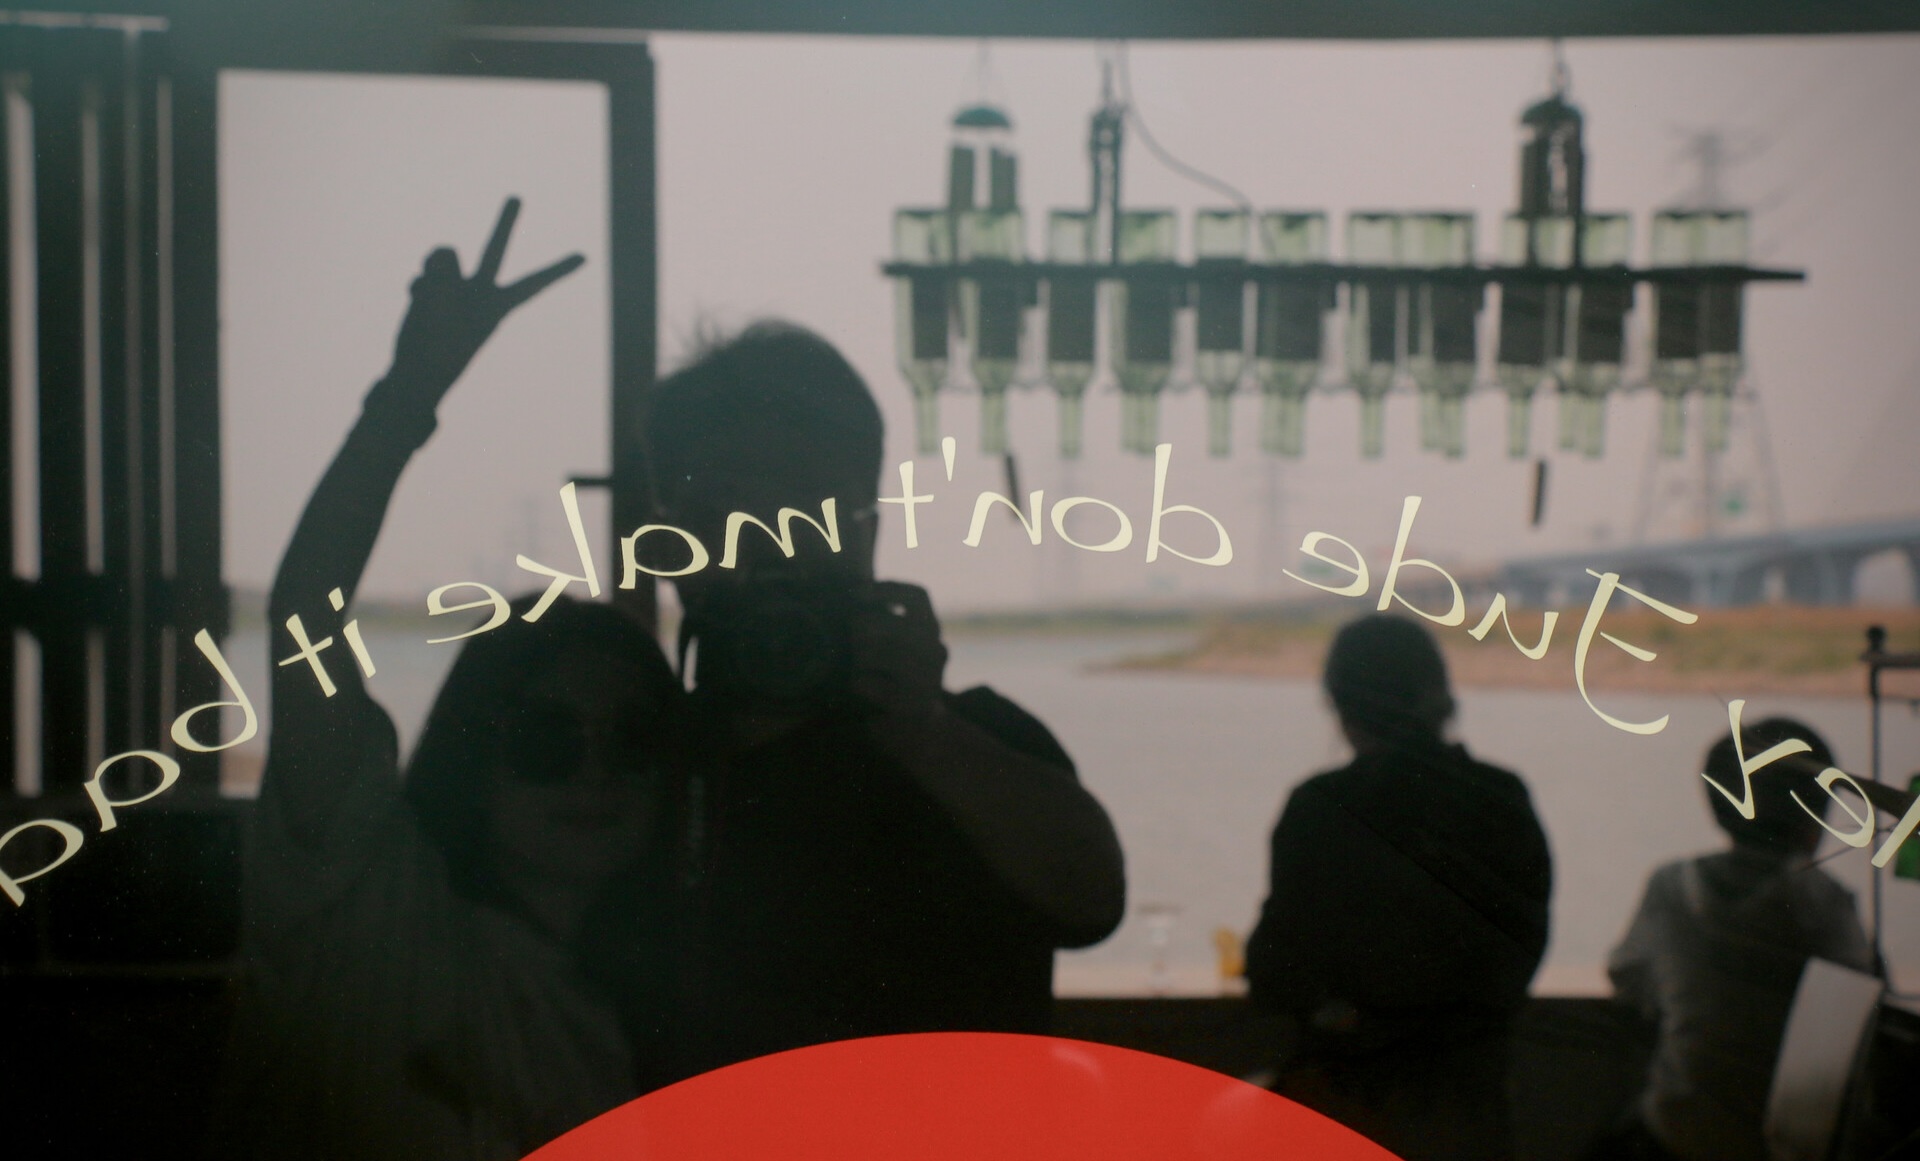
近期光影
近期好物
¥458 (25-05)
罗技 MX Keys Mini
颜值在线,手感舒适,静音首选
¥129 (24-06)
米家桌面移动风扇
风力是真强筋,内置4000毫安电池,说是最大档能吹2小时。
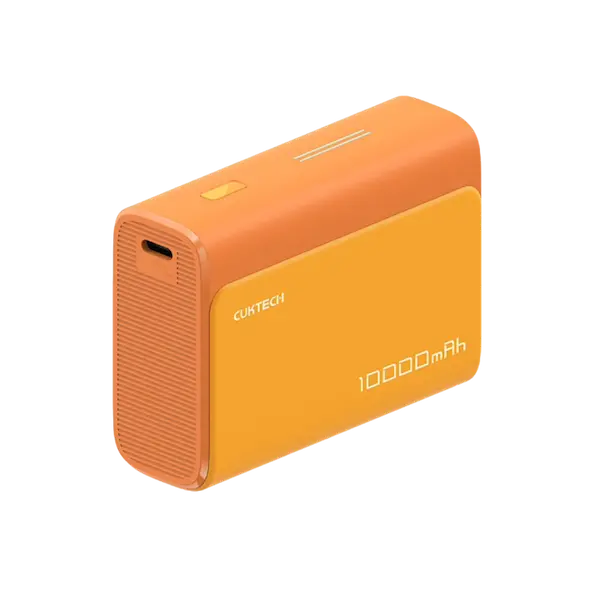
¥99 (23-12)
酷态科口袋充电宝
名片大小,小巧玲珑,颜值在线,支持 30W 快充。
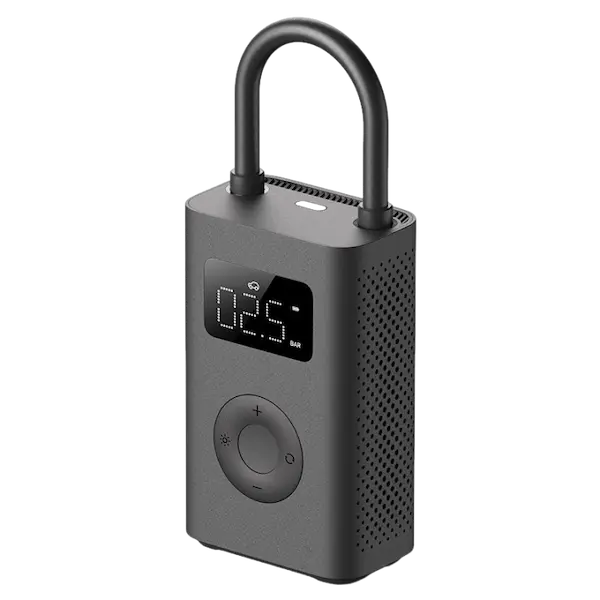
¥168 (23-10)
米家充气宝2
充气虽然慢了点,发热有点厉害,但值得常备。
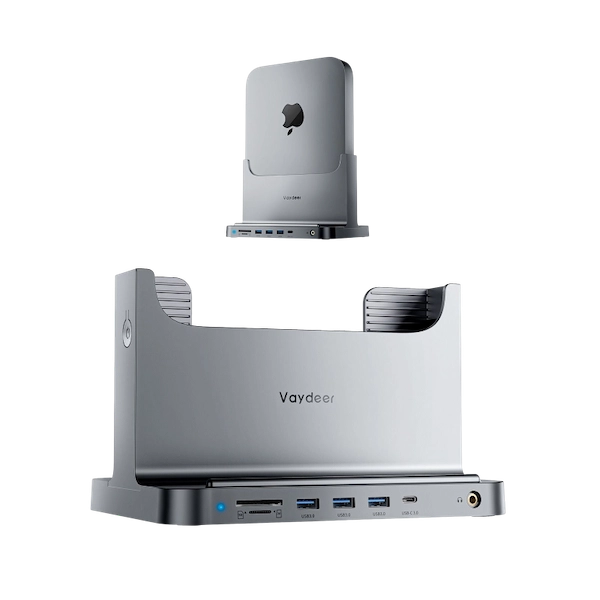
¥204 (23-10)
Mac mini 立式扩展
虽塑料材质,但接口全也满速,还可内置 ssd。立起来后,桌面整洁不少。
近期观影
8.3
全美缉凶:本·拉登
7.2
战·争
7.4
棋士
8.7
黑镜 第七季
7.1
借命而生
近期阅读
8.9
源代码
8.9
芯片简史
8
一往无前
7.9
认知驱动
8.6
认知觉醒(百万册精装纪念版)


")